What is a Photography Zine?
Creating a Photography zine provides you with a physical medium that gives you the opportunity to tell a visual story. This medium can be used to inform, showcase, advertise and simply create a preview of your current project. A photography zine is a great option worth considering for your first publication, this can be done through a publisher, however, many choose to self-publish when making their first photography zine.
Within this blog, I will go through how to make your zine from the layout all the way to marketing your zine to get sales. Providing you with my recommended products such as paper, equipment and settings.
I will tell you how to physically make a zine, this means that you should know what photographs, concepts, text and order your zine will be in.
What you need to make a Zine:
- Printer
- Paper
- Card
- Guillotine
- Stapler
- An idea
These are the essential items you will need in order to create your photography zine. I will go over the equipment that I use so you can get an idea of the price or even buy the equipment that I use as it is proven to work and provide great quality zines.
Printer
The printer that I use is the Canon G1510. I chose this printer as it can produce high-quality prints up to A4 with a very low cost per page using the eco-refill tank, allowing me to keep costs low. This printer also prints borderless which provides you with the option of edge-to-edge pages which is a great feature to have. And what makes this printer even better is that it is eco-friendly and at an affordable price, great for a first-time buyer.
Paper
It took me a while to find the paper that I wanted so hopefully this blog will save you a lot of time and stop you from searching for days to find the right paper just like I did. It is important to keep in mind that your cover paper should be different (usually thicker) to the paper that your pages are printing on; this is my personal opinion anyway.
You can use any paper to suit your needs. For me, the paper that works best is 120gsm paper. The thickness of this paper is perfect for me as for me any thicker would have been difficult to cut and fold and any thinner would have felt cheap so for me 120gsm is the sweet spot. The finish of this paper is a smooth design specialising in digital colour printing. With this product, you get 250 sheets of paper for such a great price, meaning the price of your zine can stay low or you can increase your profit margins.
For the cover of my zine, I opted for a 300gsm paper. 300gsm is considered a card which is exactly how I want the cover of my zine to feel. The Color copy A4 300GSM Paper is also branded Climate Pledge Friendly which is always nice to see. The printer recommended above also allows you to print borderless covers for your zine.
Guillotine
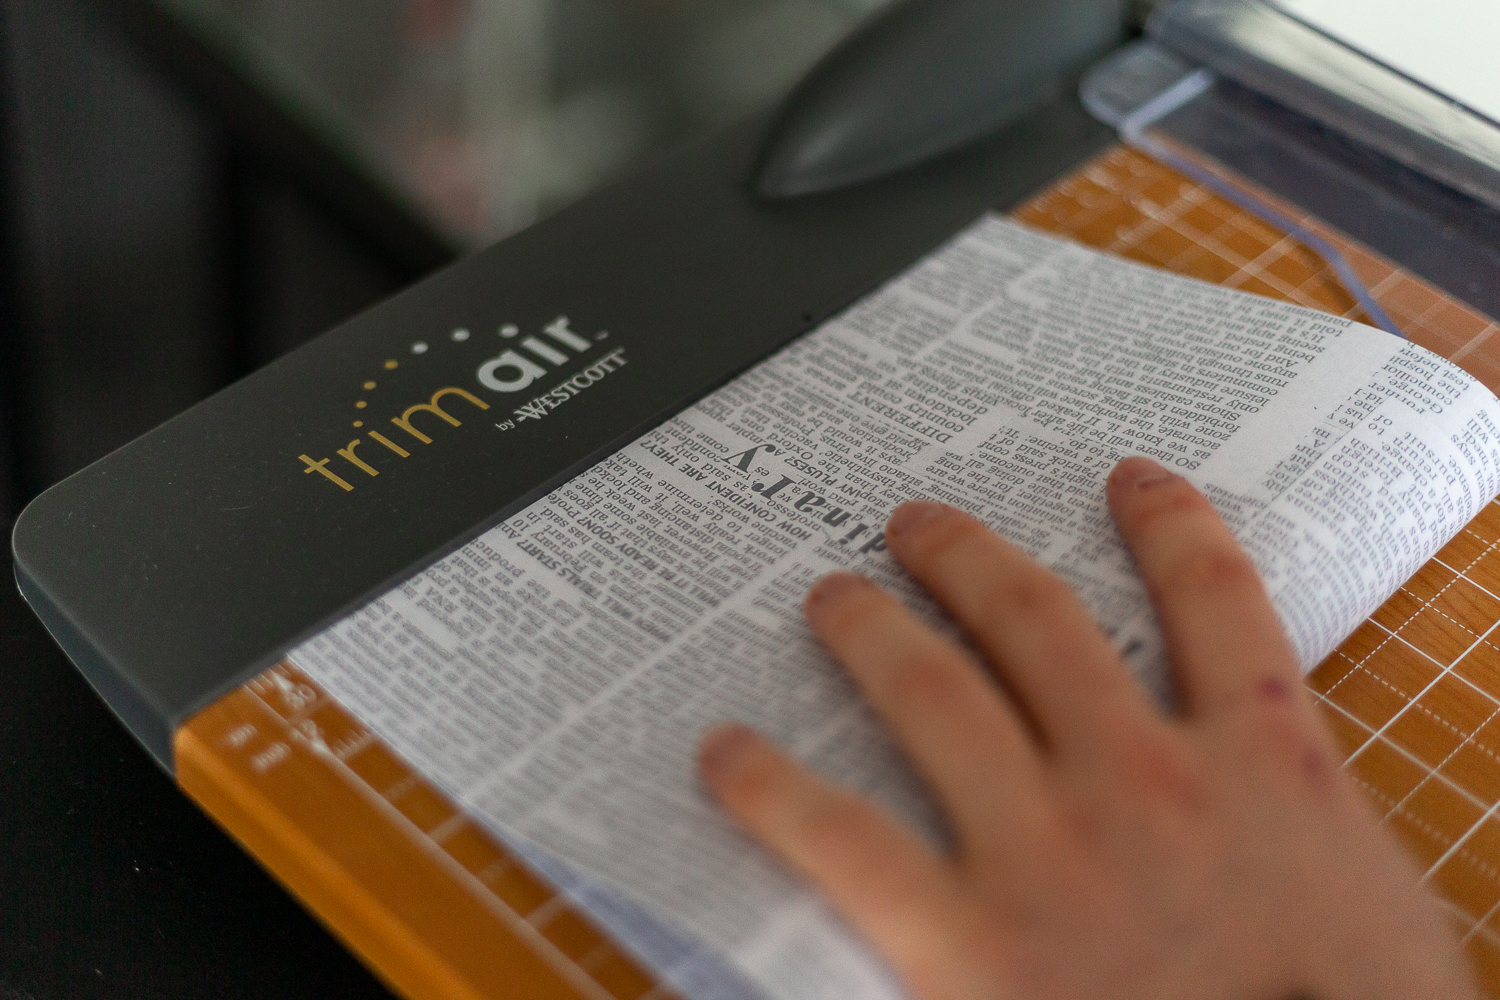
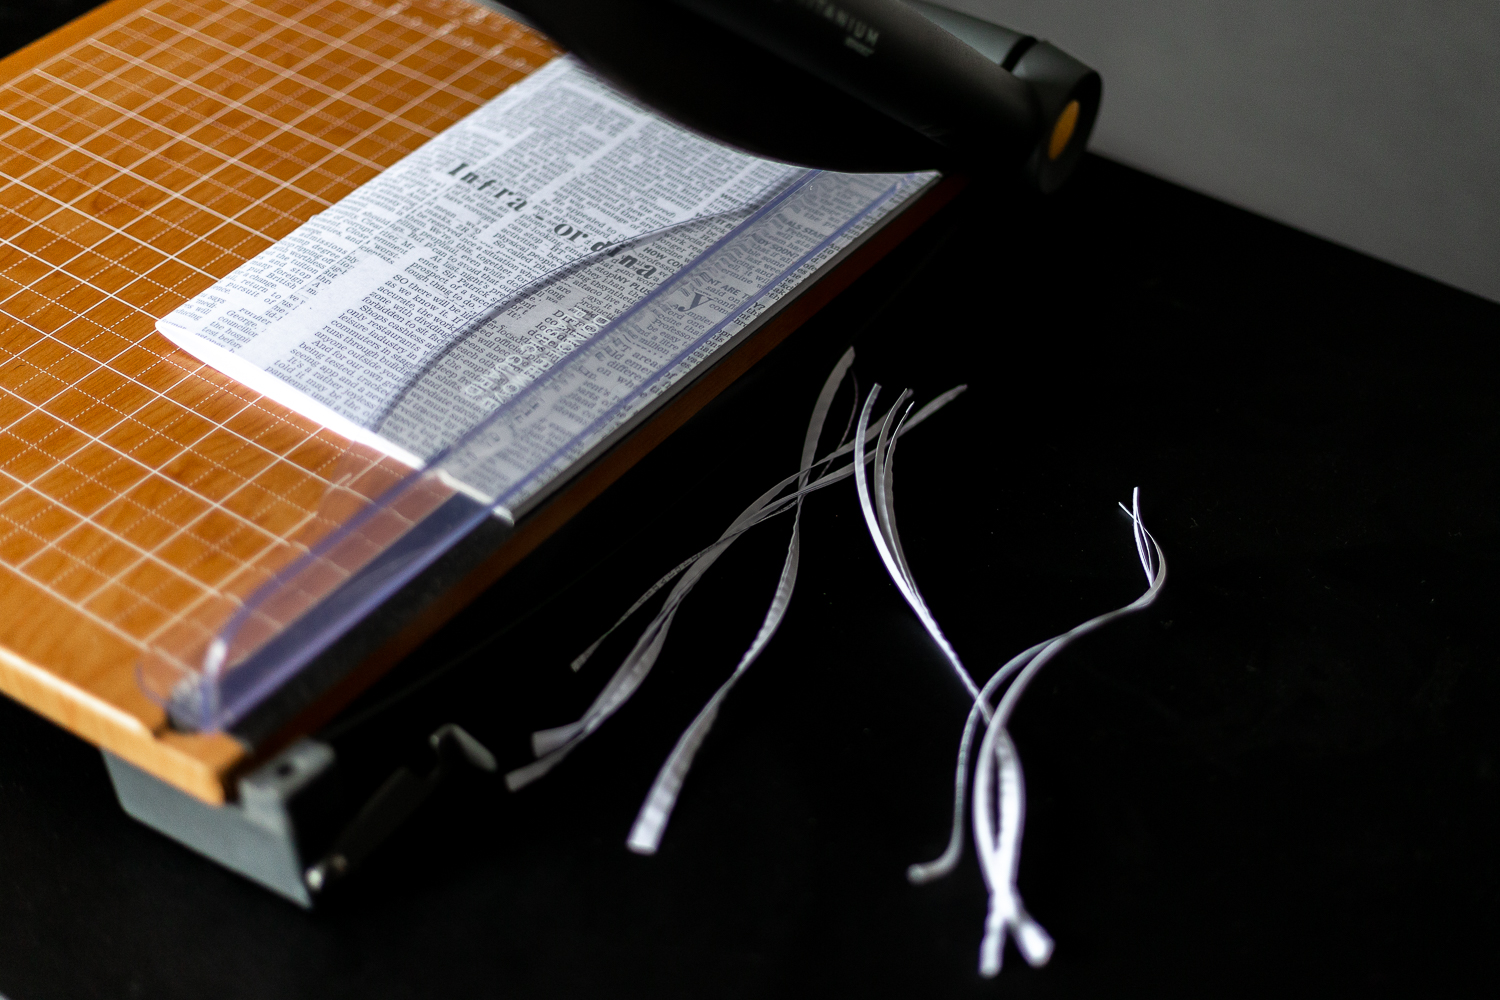
Without a good guillotine, the pages will overhang on each other resulting in the book looking messy and unprofessional; a solution to this is, of course, cutting the pages that overhang. Using a guillotine leaves you with a nice and neat finish to the book, and also makes flicking through that much better. As I am using thick paper, I did need to invest in a heavy-duty and sharp guillotine. The Guillotine I use to cut my zine is a 12” Westcott, it can cut through 30 sheets of 80gsm paper which is just enough for my photography zine. If you want to bring on professional quality paper and have a neat finish, then a high-quality guillotine is essential.
Stapler
There are many different ways you can bind your photography zine, however, stapling is arguably the most popular and simple way to do this. The stapling method of binding also fitted in well with my concept of the book therefore I personally staple-bound my work. In order to do this, you will need what is called a long-arm stapler. The stapler that I use is Rapesco A590FBA3 Marlin Long Arm Metal Stapler. Nice sturdy, good value for money and staples well, doesn’t need to do much but it does the job well.
An Idea
Finally, you need an idea, a concept, and a story to tell throughout your photography zine. This can be a documentation of a location or a person, an artistic concept, a message to portray, a series of works or simply some excellent photographs that you have taken out and about. To give you an idea I have a photography zine that is my artistic response to the pandemic of Covid-19.
That’s it, that is everything you need to create a professional-looking photography zine, I have added links to all of the products I use so that it is quick and easy for you to find good and affordable equipment and not have to spend days searching for the right set up as I did. Hopefully, I saved you some time.
Print Layout
Now that you have everything that you need you should now begin organising the pages in your photography zine. When printing your zine your front cover should be next to your back cover, your first page should be with you on the last page, your second page should be with your second to the last page and so on. Doing this myself gave me a bit of a headache so I have put together a guide for you to follow to hopefully make things easier.
Tip – Use some scrap paper and a pencil to write out the order of your book to make sure that when it is folded together, everything will be in the right place.
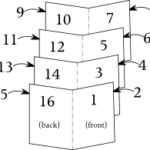
Now that you have your order, all you have to do is put these pages into your preferred software method. For example, I use photoshop to design my pages but you can use other systems such as InDesign or even just Microsoft Word or PowerPoint, whatever you are comfortable with, but just for the demonstration, I will go through my process of using Adobe Photoshop.
- First of all, you want to create an A4 landscape document (presuming your photography zine is to be printed A5).
- Make sure your resolution is 300 Pixels/Inch.
- Your colour mode matches the colour you will be printing in (most printers are CMYK) and press create.
- Now you want to create your guidelines. For example, divide your page in half so you can see where one-page ends and the other starts. You can also add bleed lines to your document to keep your content spaced well.
- Now, you can simply place your content onto each page whether it is a photograph or text.
You should be saving each double page individually in a file where all of your pages are kept. You can save these files as PSDs and save them as Page 1, Page 2, Page 3 and so on.

Exporting your pages
Once all of your pages are organised and saved into one folder you can begin exporting them for printing. Here is how you do it in Adobe Photoshop:
- Open Photoshop.
- File – Automate – PDF Presentation.
- Click ‘Browse’ and select all of your PSD files (your pages).
- You can then organise your files by selecting ‘Sort By Name’. This will be the order of your book so it is important that all of your pages are in order.
- Select ‘Save’ and choose where to have this document saved.
- Another window should pop up, in this window make sure that your ‘Adobe PDF Preset’ is selected to ‘[High-Quality Print].
- Go to Output and change your ‘Color Conversion’ to ‘Convert to Destination’.
- Select your ‘Destination’ below and choose your Colour profile, I use ‘Coated FOGRA39 (ISO 12647-2:2004) as this has the widest colour space which should give you accurate colours for most printers.
- Press ‘Save PDF’.

Print Settings
Now you have your PDF which you will be printing on, you can go into this document and look over it to look for any errors or mistakes within the document. Your print settings are extremely important when printing photographs from home, printers at home don’t have the high-end specifications that a photo printer does but if you get your printer settings spot on then you can get extremely close to looking like it has been professionally printed.
I will give you a quick run-through on my printer settings, however, keep in mind that all printers are different, and your choice of paper can affect the printing and even the type of ink you use, however, if you are using the same set up like me or something similar it may be worth putting in these settings as a stepping stone to see how it comes out, you can then make a few tweaks and adjustments.
Here is how to do it:
- Open your PDF Document
- File – Print
- A print window should pop up where you will be selecting all of your print settings.
- Select ‘Properties’
- I have two different settings, one for the body of my zine and another for my zine cover.
Settings for my zine body
Media Type: Plain Paper
Print Quality: High
Printer Paper Size: A4
Paper Source: Rear Tray
Select ‘OK’
Settings for my zine cover
Additional Features:
(Tick) Borderless Printing
Media Type: Plain Paper
Print Quality: Standard (My printer can only print standard quality when printing borderless, you should be choosing the best quality selectable)
Printer Paper Size: A4
Paper Source: Rear tray
Select Ok
Tip: You can save these settings by selecting ‘Save’ below the ‘Commonly used’ selection. This is useful to have as when revisiting to print all you have to do is select the printing preset you have saved which massively speeds up your process.
Once these settings are imported I will choose the pages to print by removing the cover when printing my zine body and removing the zine body when printing the cover. This is done by:
‘Pages to Print’ – ‘Pages’ – ‘3 – 22’. This removed the first two pages which is the zine cover.
‘Pages to Print’ – ‘Pages’ – ‘1 – 2’. This removes the zine body and only the first two pages which is the cover.
Now your pages are selected you can move on to the page sizing and handling.
- Select the ‘Fit’ selection
- Tick ‘Print on both sides of paper’
- Select ‘Flip on short edge’
- Orientation – Landscape
Now, this is done you can press print. Do remember that this is how I print my zine, you may want to change some of these settings which is completely fine, I am here to simply give you an example and how and what to do when printing.
Printing
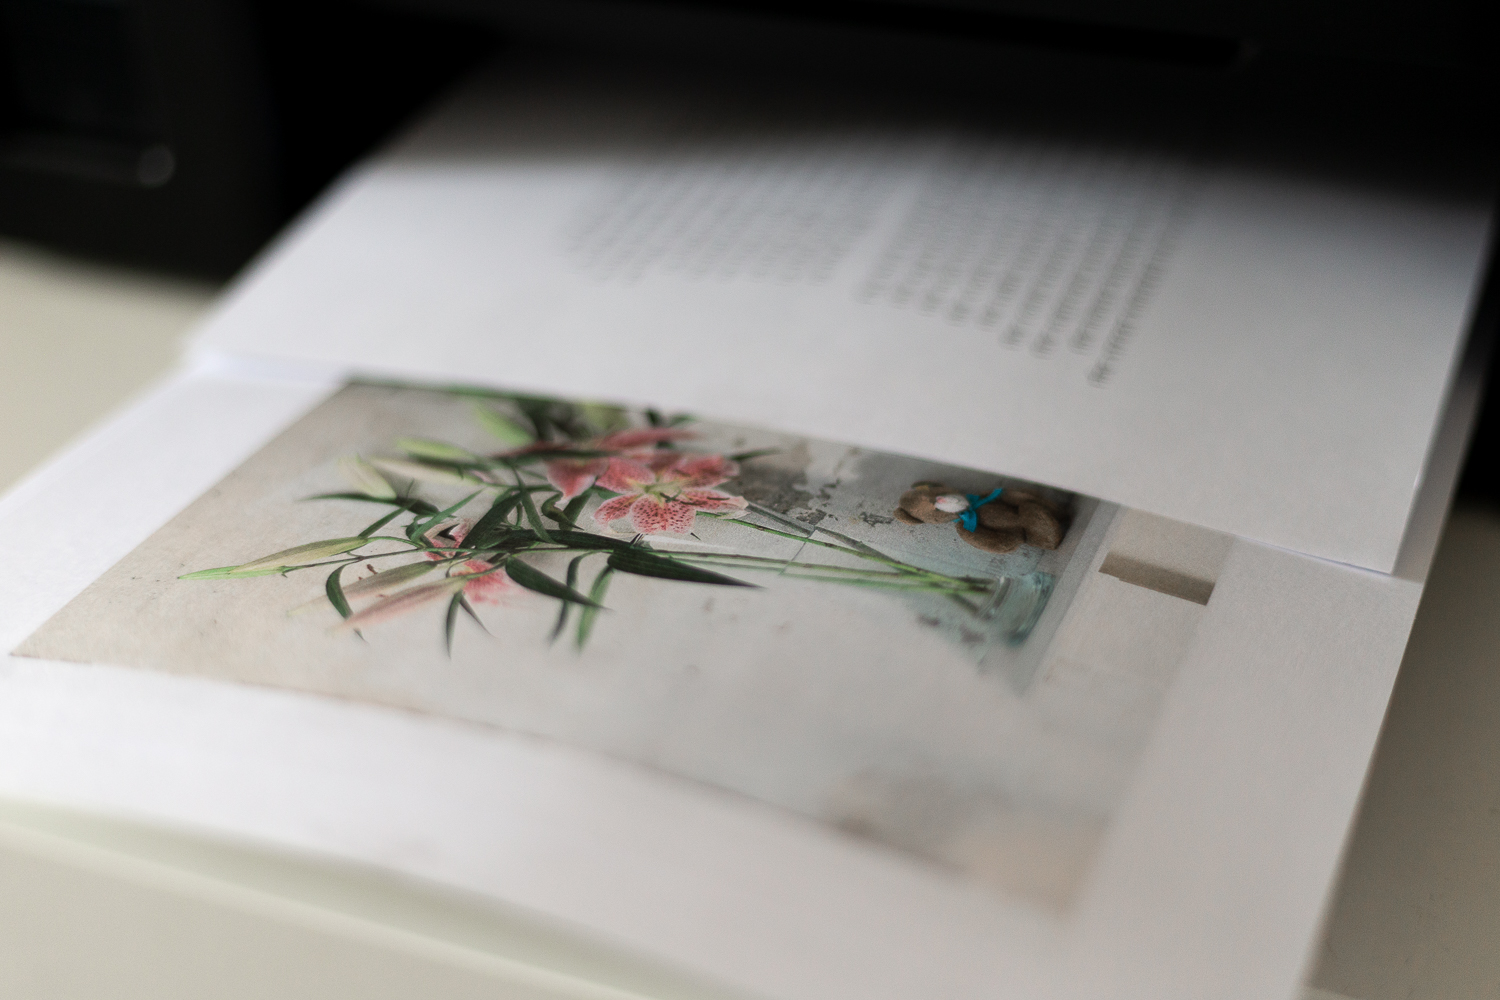
Now you have selected ‘Print’, you can leave the printer to do its magic. Some printers may need you to manually turn over the pages to print on both sides, you can simply follow the guide your printer should show you on your screen.
Folding & Stapling
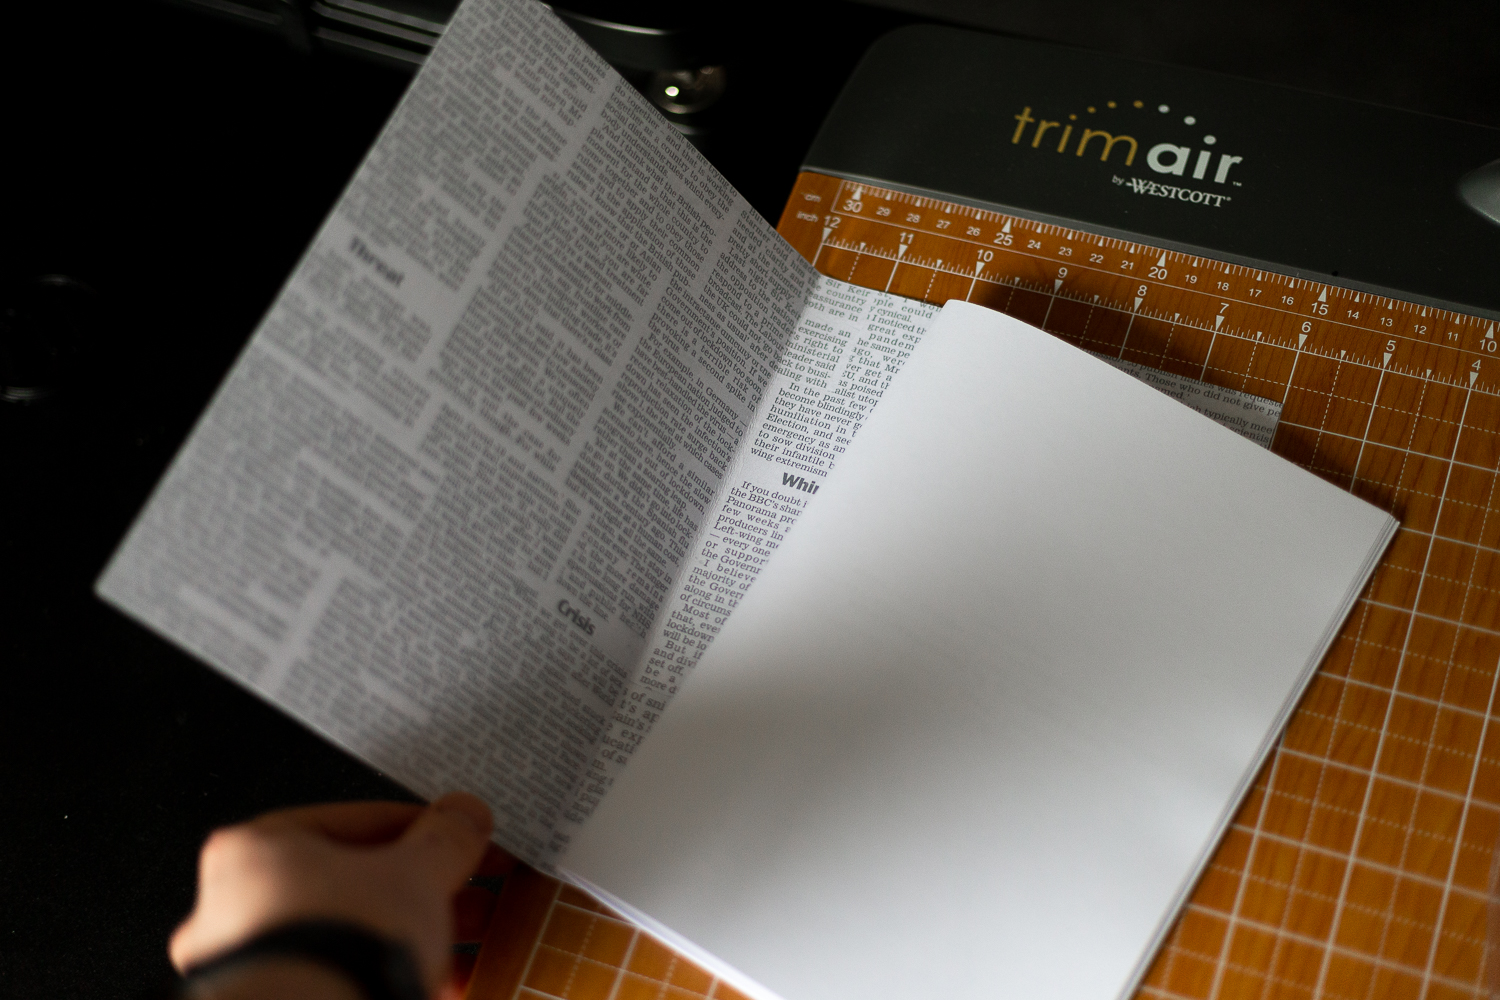
When you have both your zine body and zine cover you can begin to fold your photography zine. This is extremely simple, first of all, you want to fold your zine body in half, you want to make this as needed as possible so it is a good idea to fold your zine and press it against something so that you get a clean fold. You should do the same with your zine cover
Tip: there is a groove on the guillotine where you can push both ends of the zine against this in order to get a clean fold.
Now your zine body and zine cover are folded you can go ahead and place the body inside of the cover. Make sure that everything is the right way up, you don’t want your cover upside down.
With this folded you can grab your long-arm stapler and staple it along with the creation of your photography zine. I use two staples, one ¼ of the way and the other ¾ of the way down the spine. You may need to press down on your stapler strongly in order for the staple to go through all pages, depending on how thick your photography zine is. It is important to staple your zine before cutting as the staples help you keep all of your pages and covers in place.
Cutting
Now that your photography zine is secured and in place with your staples, you can move on to the last step, cutting. Cutting your zine gives you a nice flat edge, providing the users will ease when flicking through, as you will notice without cutting your zine some pages stick out further than others, this does look messy and unprofessional.
It is helpful if your zine has a ruler, and the A5 photography zine should be 210 x 148 mm (21cm x 14.8cm) you can use these measurements as a guide to cut just the right off.
Tip: Mark with a sharpie on your guillotine ruler at 14.8cm to get a consistent portrait book, or mark at 21cm to get a consistent landscape cut.
That’s it, your zine is finished. Have a flick through, make sure you are happy with everything and see if there are any changes that need to be made. As I have said this blog is only a guide to how I make my photography zine, feel free to experiment and play with yours, after all, it is an art form.
Once you are happy with your zine you now need to get those sales! These sales can be achieved through marketing.
All Done
I hope that this blog has helped and answered your question on how to make a photography zine. If you have created your own zine from this blog then I would love to see it, you can tag me in it (social links are below) on your social media or you can email me a few photographs through my contact me page.
Feel free to check out my zine, whether you would like a copy to see my choice of paper and the quality you can expect from the printer and paper mentioned or even if you are interested in the concept of my work then I will greatly appreciate being able to handmake one just for you and send it your way.

Infraordinary Photography Book
Get creative in making your zine and most of all, have fun making it!
If you found this blog helpful then make sure to check out my other blog post to do with Tips & Tutorials just like this one.


